QuickiShop Admin
Welcome to the official user documentation. Follow this guide to configure and operate your system.
1. Introduction
This application provides advanced tools to handle your daily operations seamlessly. Please read all safety regulations and configuration guidelines before use.
2. Getting Started
To begin using the application, follow these initial setup steps:
- Open your shop from your shop URL in any browser (better on desktop).
- Login with your admin user - you will be redirected automatically to the admin page.
- You have to define first your channel and headers then categories and if you use sub-categories then add all your products.
3. Channels
Explore the primary operations built directly into your interface dashboard dashboard:
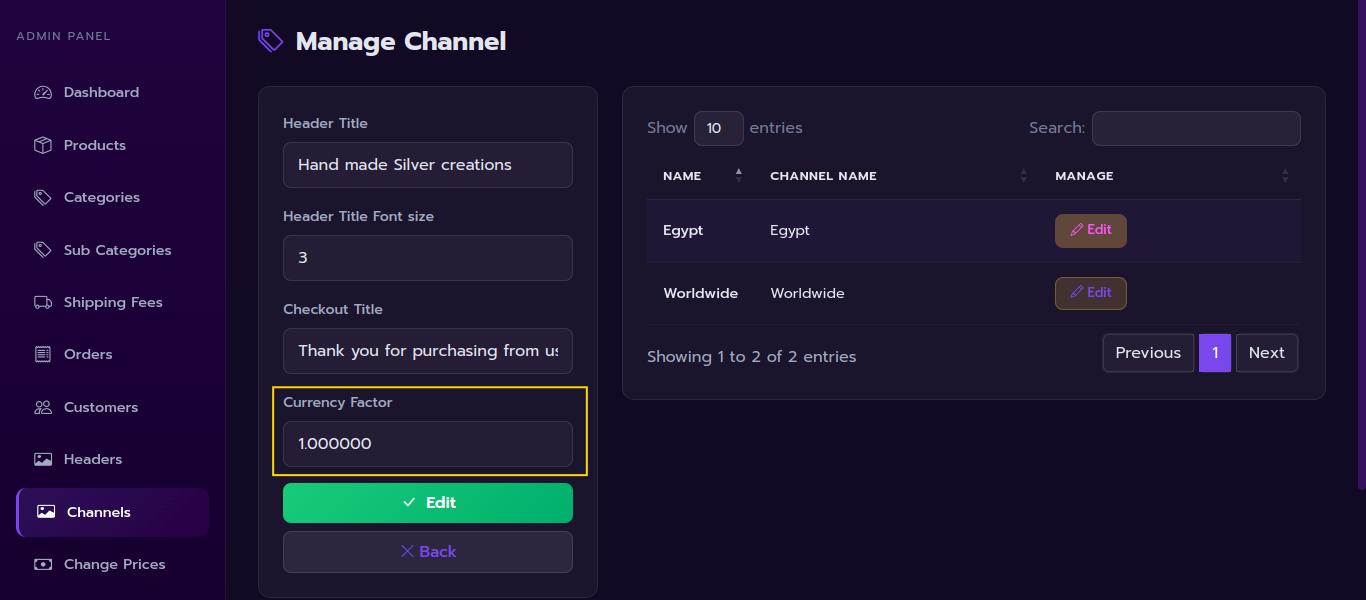
- First you have to enter your text for the channel header which is actually the page header for the home page.
- Take care about the title font size it is from 1 to 6 (1 means biggest font and 6 means the smallest font).
- The currency factor is the normal exchange factor for the used currency by default it is 1 never change it except if you have more than one channel you can define the other channel with different currency and put in its currency factor the exchange factor to the default channel currency lets say for trading outside your currency you will use US dollars which is 50 of your currency but need also to add a margin for trading outside your country so 1/50 will be 0.020 but you will put a margin of 0.005 so put the currency factor here as 0.025.
4. Headers
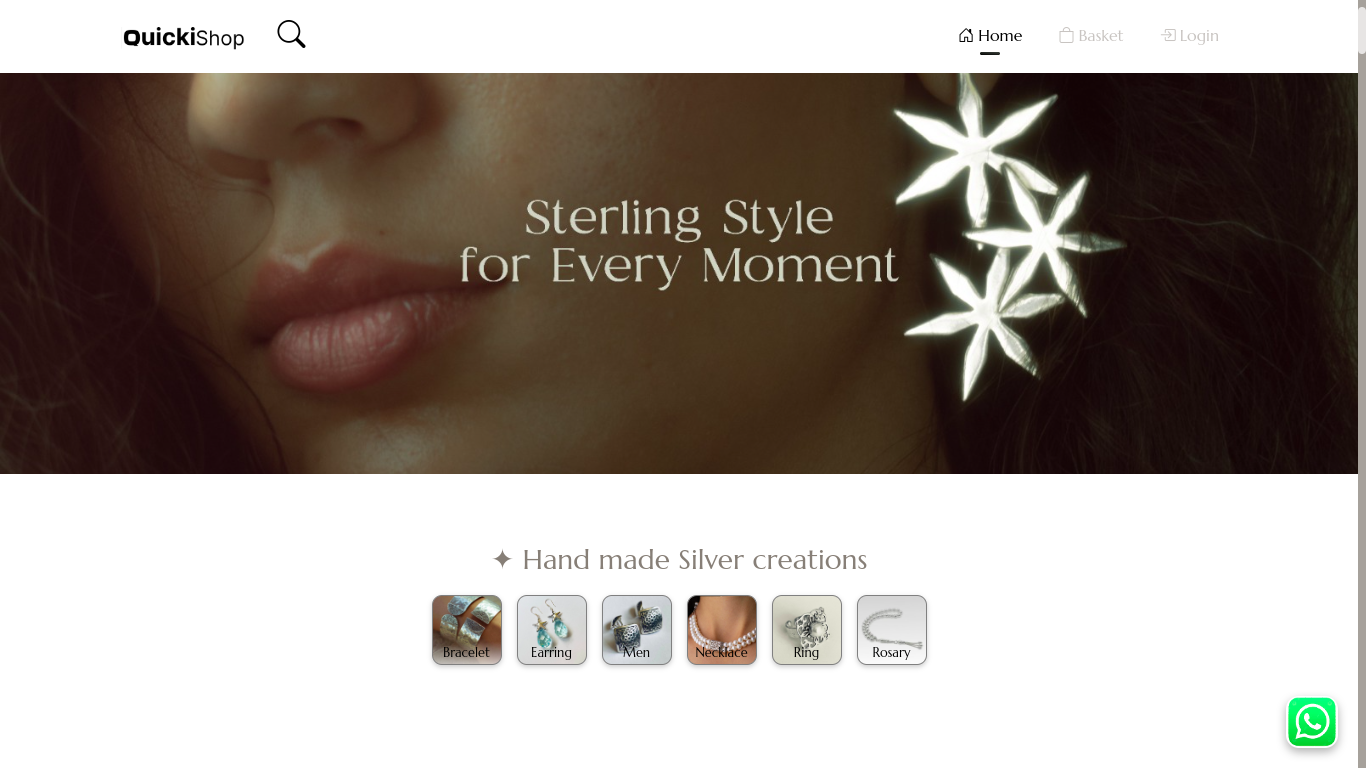
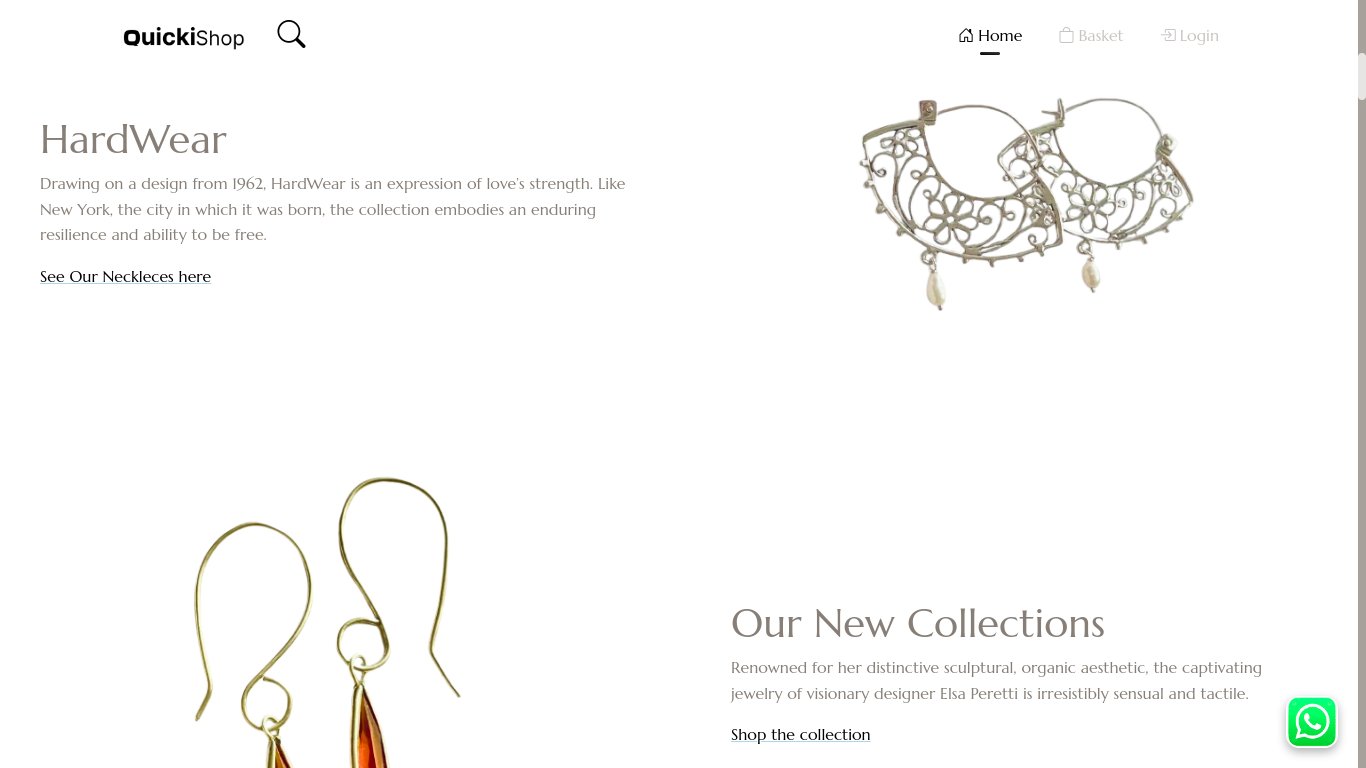
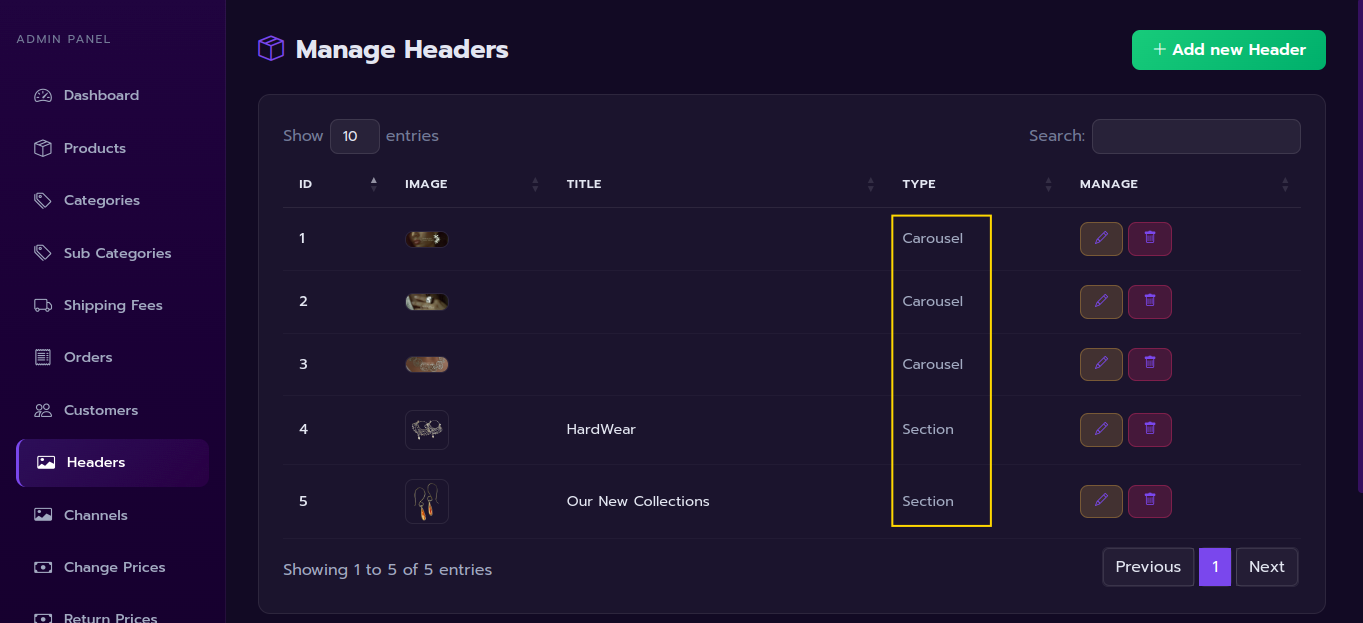
Headres are either carousel or section.
The Carousel is the section on top of the home page which contains a moving images.
The Section is a normal section in the page it usually contains two parts an image and a text with title and a link as shown below.
4. Notify Customers
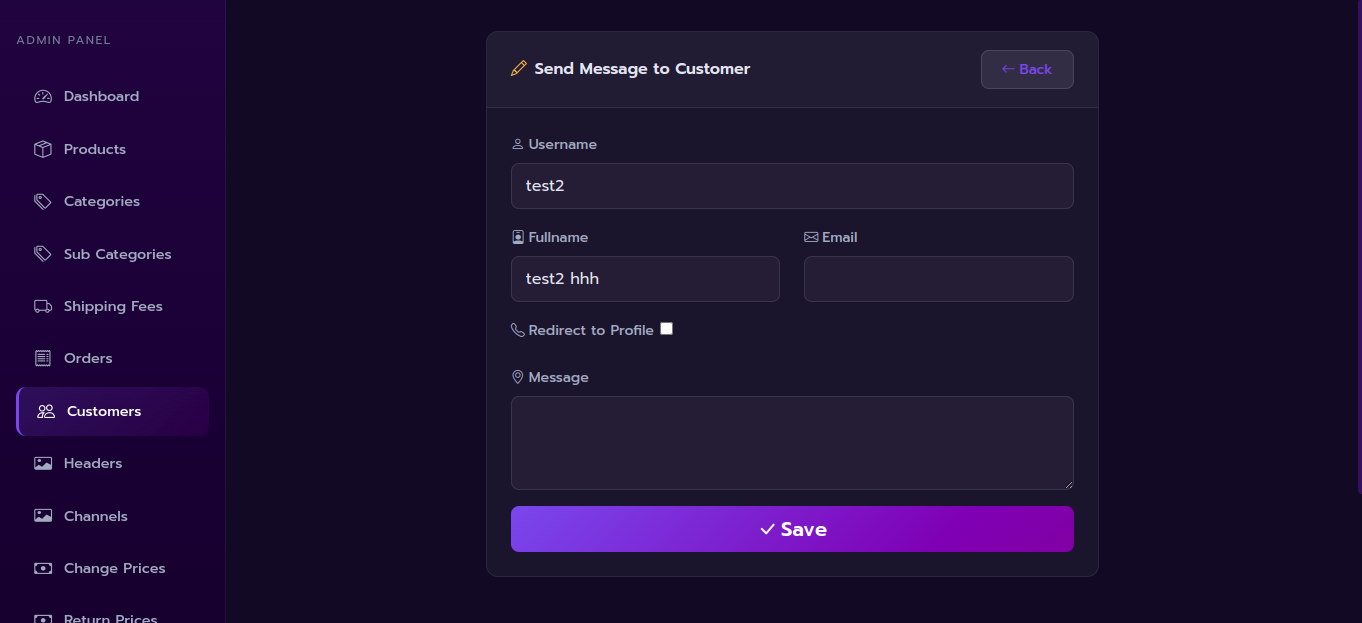
You can send a message to you customers on the application so whenever the customer login the message will display on his screen.
That could be used to inform the customer to complete his contact data so you can contact him normally using Whatsapp or e-mail.
Also for urgent Notifications.
This could be done from Customers screen in the Admin Panel.
The checkbox "Redirect to profile" will force the user to be redirected to his profile to edit his contact data, this will happen exactly after the message display on his screen and he presses OK.